Tutorial
Vinyl Zip Pouch Tutorial
A step-by-step guide to sewing a clear vinyl zip pouch.
01
Step 1: Zip Tab Ends
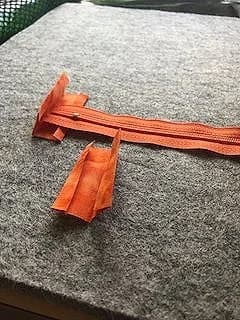
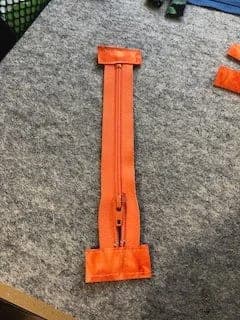
Make zip tab ends about 2X2” or larger; fold ends to center and press. Sew onto each end of your zipper. Cut excess fabric of tabs along side of zipper. I am using Batik fabric, 7” zipper, 12 gauge clear vinyl, size 14 needle and Metler Silk Finish cotton thread.
02
Photo of Tabs sewn to Zip
03
Step 2: Top Edge Strips (Binding)
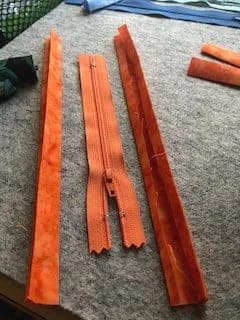
Make two strips about 4” longer than your zipper and about 2” wide. Fold long edges to center and press. Press again to center, with fold lines even.
04
Step 3: Cut Your Vinyl
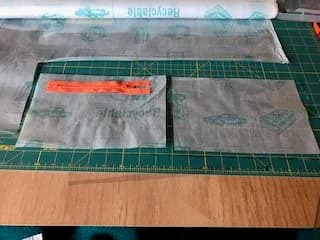
Cut two rectangles of vinyl about 2” longer than the length of your zipper and as wide as you would like your pouch to be, but make it at least 4” (for room to turn the project).
05
Step 4: Sew Vinyl to Zip
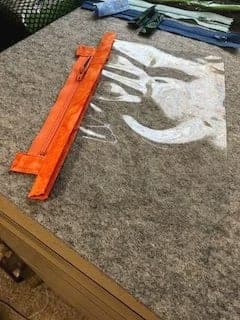
Place one long edge of vinyl into the fold crease of the edge fabric, and sew it to one side of the zipper using a zipper foot and use 2 lines of top stitching. You will be stitching through the top binding fabric with the vinyl inside the crease, and the zipper at the bottom.
06
Step 5: Other Side
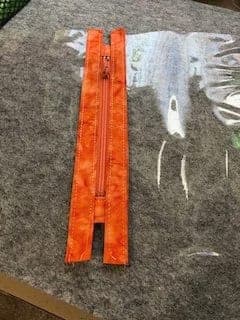
Sew the vinyl to the zipper on the other side.
07
Step 6: Open Zipper and Turn Project Over
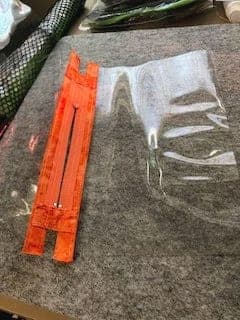
Open the zipper and turn the project over with zipper facing down.
08
Step 7: "right" sides together
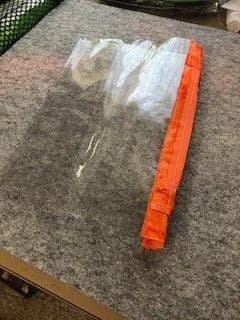
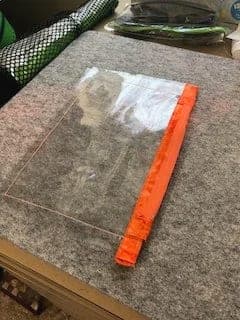
Fold it so the zipper is facing inside the pouch; (this is essentially ‘right’ sides together). Make sure your zipper is OPEN.
09
Step 8: Sew around pouch
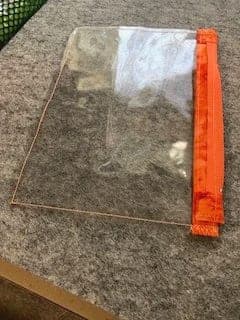
Stitch around sides and bottom of pouch. Start sewing about 1/8” from the outside edge of your zipper tab; do not catch the end of the zipper tab in the side seam. I am using a square corner here, but stitching slightly rounded corners will make your pouch easier to turn. Also, you can ‘box’ the corners if you so chose.
10
Step 9: Trim
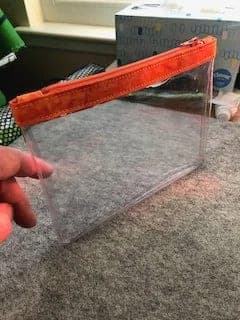
Trim close to the edges all around the pouch; clip corners carefully.
11
Step 10: Turn the Pouch
Gently, with patience, turn the pouch to the right side and push corners to straighten. A hair dryer on low heat can help make the vinyl supple and easier to turn. Or, you can place the pouch on an ironing board after warming the board with an iron, but not too hot. The radiant heat will help soften the vinyl. For a finishing touch, add a pull tab to your zippered pouch!